How to Install a Compression Fitting Seal on a Breville Dual Boiler / Oracle
How to Install a Compression Fitting Seal
If your Breville machine uses compression fittings on the boilers, this guide will walk you through how to replace them when they start leaking — a quick, reliable fix that prevents further damage and restores proper pressure.
Tools
- Phillips & T20 Torx drivers
- 15 mm spanner or sensor socket
- Wire Cutters
Time
~15 minutes
Compression fittings typically last much longer than the older silicone O-ring style, but they can eventually start leaking — especially if the joint has been disturbed or loosened. Sometimes a small tighten with a spanner can buy you some time, but in most cases a full replacement is best. If you’re moving or removing a pipe, always replace the seal, as once the ferrule has been compressed it won’t reseal properly again.
Let’s get started:
Step-by-Step Breville Steam Valve Repair
1. Power Down
Unplug your machine and allow it to cool completely before starting. This ensures your safety when working near the boilers.
2. Remove Outer Screws
Remove the two Phillips screws underneath the front panel, followed by the two Torx screws at the back of the top cover.


3. Lift the Lid
Carefully lift off the top panel to expose the internal components. Keep it nearby, as you’ll need to refit it later.
4. Undo the Leaking Fitting
Compression fittings can be very difficult to remove - especially if they have been leaking as scale builds up over time that helps to glue it in. For this job I personally use an impact driver and a special socket with a gap for the hose called a sensor socket. If you don't have one of these then a large adjustable wrench and a hammer to tap it with should work.


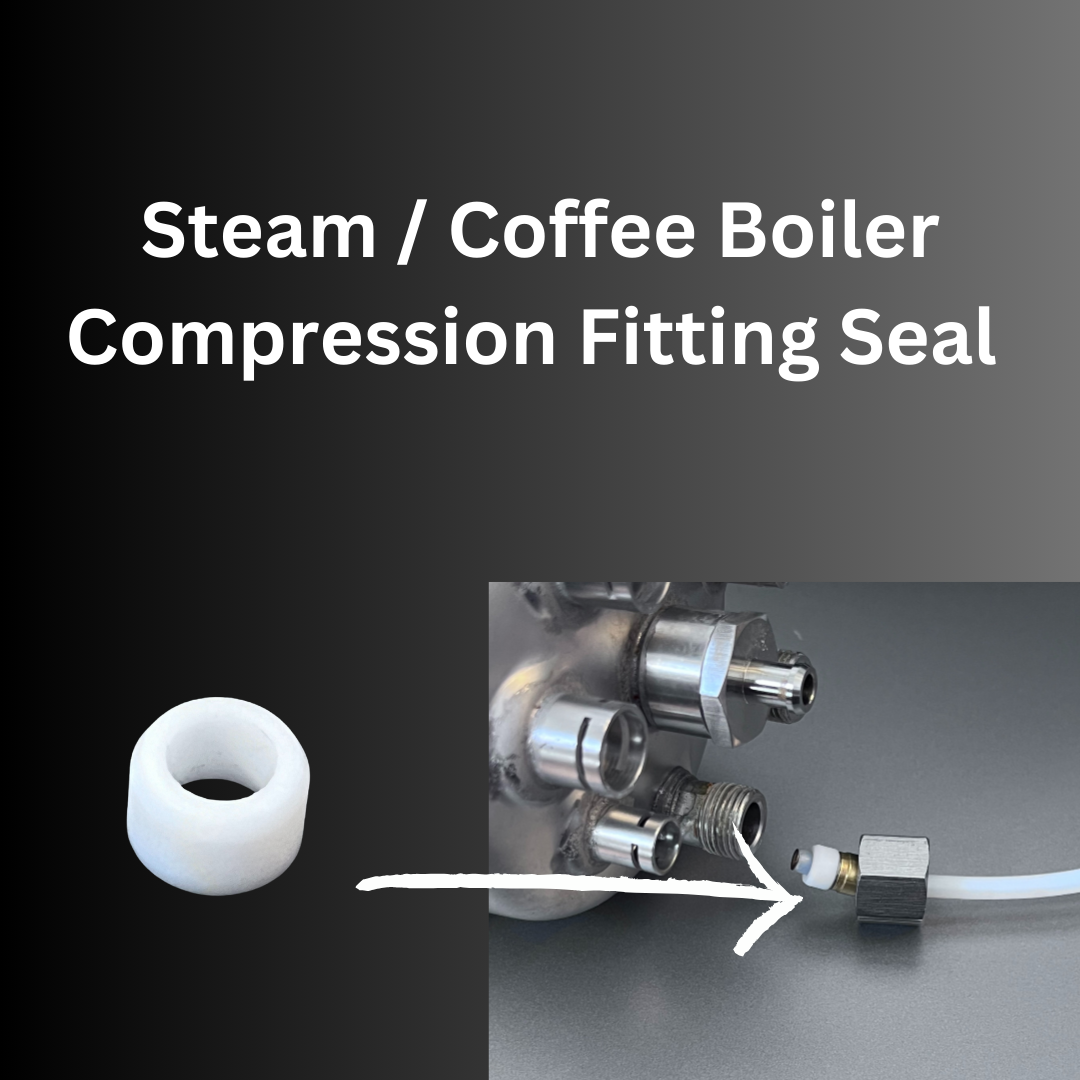
5. Remove the Old Ferrule and Seal
Using wire cutters, gently pinch behind the lip of the ferrule insert — just enough so it begins to come out, but not so tight that it distorts its shape. Once free, remove the old Teflon seal. Don’t worry about damaging this small section of hose; we’ll be cutting it off anyway.


6. Reposition the Fitting
Slide the fitting down the hose by twisting and pushing gently. You’ll need around 6 mm of clean, undamaged hose exposed for the new seal to seat correctly.

7. Trim the Hose
Use a sharp knife or cutters to remove the damaged section of hose, leaving a fresh, smooth end ready for the new seal.

8. Install the New Ferrule and Seal
Slide the new ferrule onto the hose, followed by the new seal. Push the hose firmly back into the boiler port until it bottoms out, ensuring the seal sits squarely in place.

9. Replace the Fitting
Use a wire brush to clean off any scale on the thread, then (optional) apply some anti-sieze compound so the nut can be easily removed in future:


Then tighten it fully with a spanner or sensor socket. This will compress the ferrule around the hose for a watertight seal. And that's really it. 