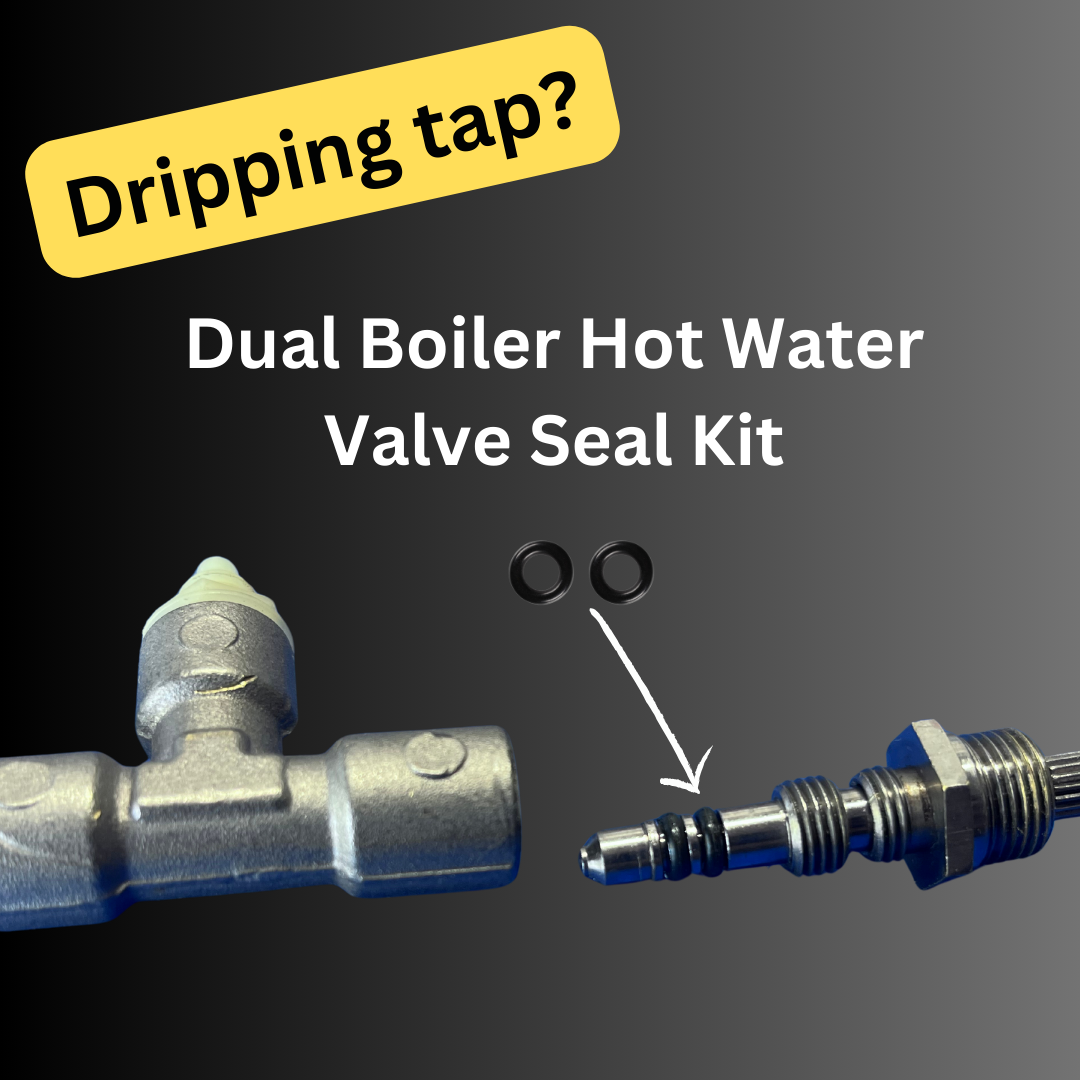
Repair a Dripping Hot Water Spout — Breville Dual Boiler (BES920)
If your hot water spout drips even when closed, the culprit is usually the two O-rings inside the needle valve — not the solenoid or boiler. This guide shows how to access the valve, replace the O-rings, and restore a proper seal.
Fixes
- Dripping hot water spout
- Hot water leaking when valve “closed”
- Worn/flattened O-rings in needle valve
Tools
- Phillips screwdriver
- T20 Torx driver
- Small pliers
- 14 mm spanner
- Adjustable spanner
Time
~45 minutes
Step-by-Step: Needle Valve O-Ring Replacement
Power Down & Cool
Unplug the machine and let it cool fully.
Remove Outer Screws
Remove the two Phillips screws underneath the front panel and the two Torx screws at the back.


Lift the Lid
Carefully lift the lid to expose the control panel and valve area.
Remove the Knob & Inner Screw
Grip the hot-water knob and pull straight off (rubber glove helps for grip). Then remove the Philips screw inside the shaft.


Remove Microswitch & Knob Core
Undo the two screws holding the microswitch; use a flat-blade screwdriver to release the remaining part of the knob.


Expose & Free the Valve
Access the two screws holding the valve bracket, then remove the two hose clips with pliers.


Remove the Valve Assembly
Take out the final two screws to release the valve and withdraw it for bench work.

Open the Valve Body
Use large pliers or a socket to remove the retaining nut, then note the order of parts as you disassemble.


Access the Needle & O-Rings
Secure the valve body with an adjustable spanner and unscrew the internal needle to expose the two O-rings.


Replace O-Rings & Reassemble
Cut off the worn O-rings, install new ones from the kit, apply a little food-grade grease, and reassemble the valve in the same order. Reinstall in the machine and test for leaks.