


While the repair itself was challenging, the repair kit worked well. Being able to save money on a costly repair and keep an older machine in service was worth the effort.
Shipping from AUS to the US cost as much as kit itself, but delivery was suprisingly fast, and in my case was worth risking since the repair estimate from a local shop was substantial.
There are a couple of details in the video explanation could be slightly modified/improved. One is that the sensor provided in the kit doesn't need the plastic gasket that may be present in the machine's existing parts. Hanging onto the gasket is only necessary if you acquire a thermistor on your own (not the kit) that matches the original part design. Also, on my Oracle Touch, the sensor connection is on the inside front of the machine, not in the rear as shown in the video (so in my case, I lost a bit of time opening up the rear wiring panel). Otherwise, the instructions are great. And the inclusion of a few extra solder joints and zip ties are thoughtful.
I would recommend this kit.
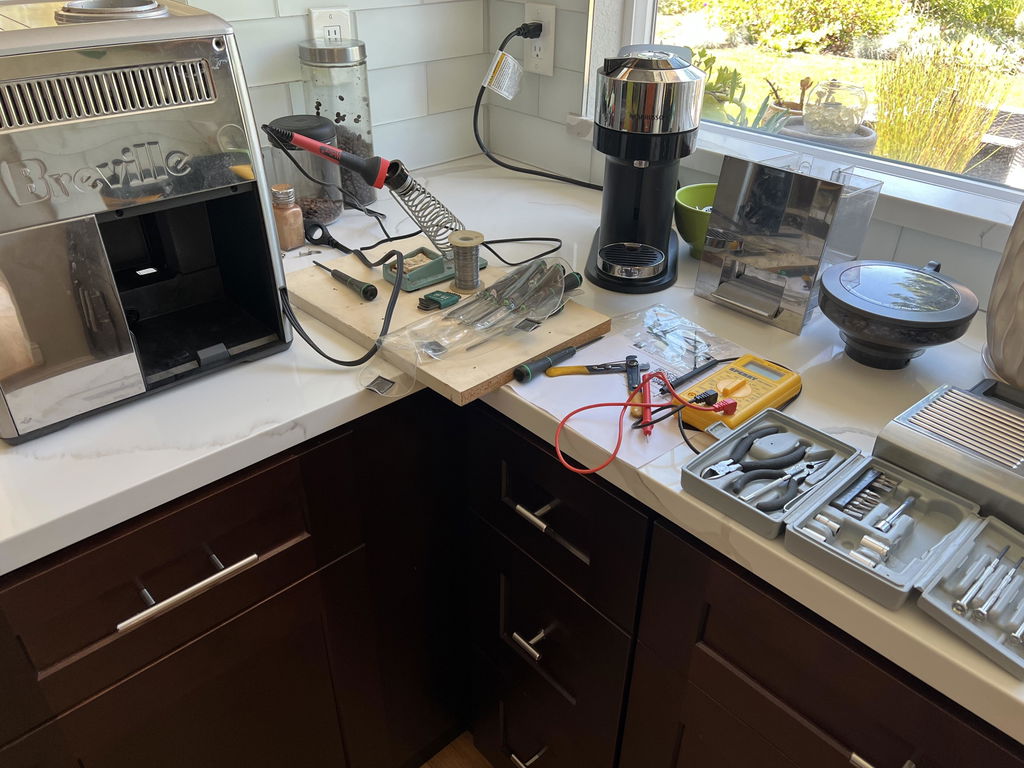
Found the YouTube how to video about changing the milk thermostat which then got me to he. Ordering was easy, delivery was quick. Wish I had purchased a second for a spare
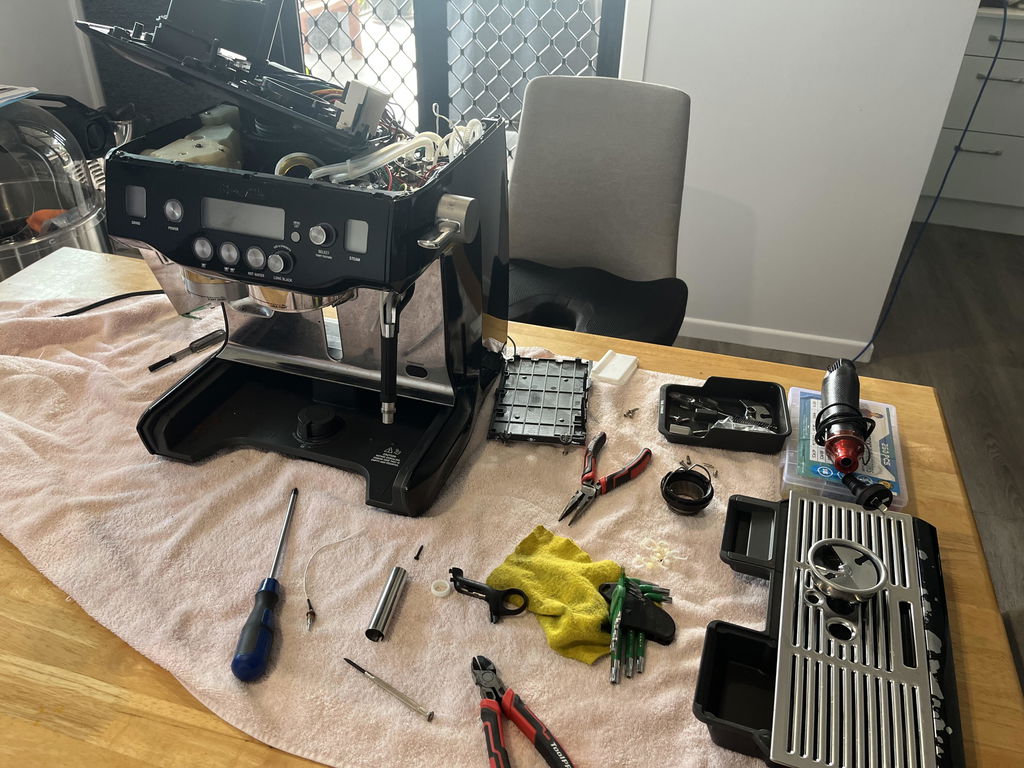
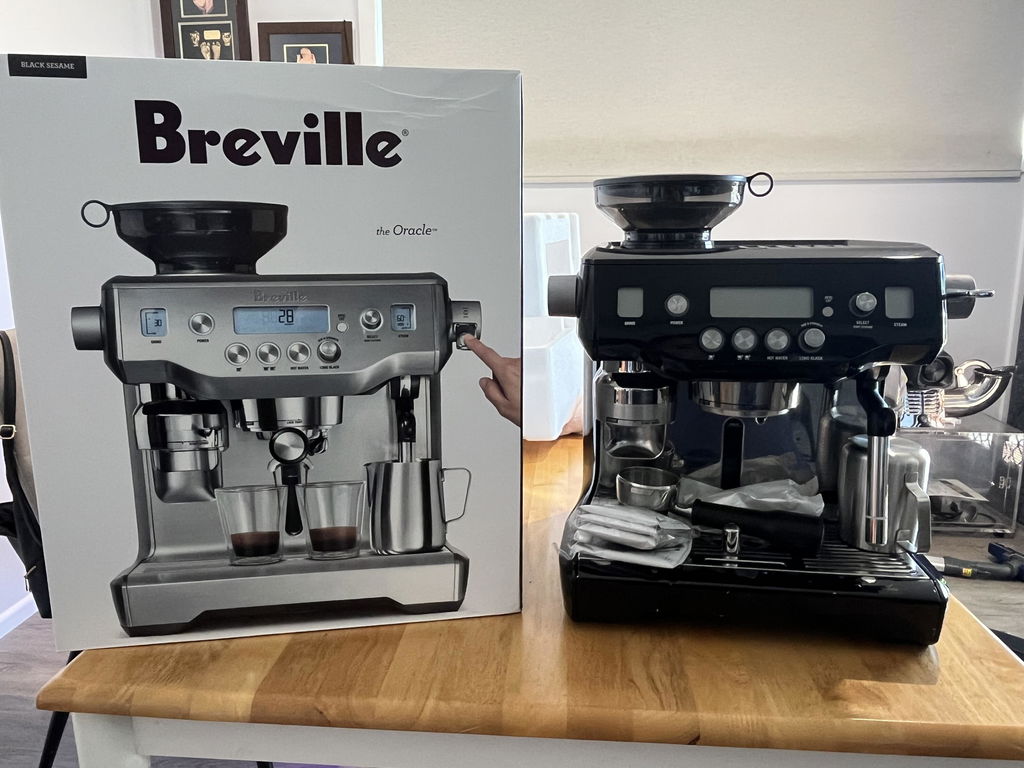
Quick turnaround and fantastic service. Great instructional video.
All required parts to fix temperature probe error. A bit fiddly to install but easy enough to do.
Brilliant
Brilliant.
Fast postage, easy to deal with and good price.
Great product. Highly recommend.
Probably better than the original??Works great. Thank you!!
Kit was good to find, and exactly as stated. It worked well. Would recommend this company as the item was as advertised, and arrived promptly
Took 10 days for the kit to arrive in the UK (great!) It took me 3 hrs to fit the thermistor. The delay was because the 2 upward facing screws at the front of the unit are in a narrow channel and my "bit" driver was too fat to fit. It took me an hour to find a thin "bit" extender that would fit (doh!). So first tip, you need a standard medium crosshead screwdriver for these upward screws...this will also undo every other screw except the two at the top back...which are "star" or "torx" bits, so you will also need a set of those. On threading wire up the wand, if you get a torch and look up the wand you will see a small hole - put the wire through this and the first part is easy. Once you have pushed the wire through the first silver sleeve, this sleeve joins to a second metal sleeve at the top, and you need to thread the wire so that it doesnt just go into the second sleeve, but comes out at the gap between the two. So, pull the two sleeves apart and then use a thin implement to bend the wire through the gap between the lower and upper sleeve. After that its easy!
Thanks for the advice! it's a fiddly repair for sure for those doing this for the first time. well done
Perfect item with clear instructions and fast shipping of the parts. Cannot be more thankful for you putting this together!
Perfect
I had an issue due to a faulty sensor, not the sellers fault at all! They were quick to fix the issue and very friendly. Thanks BrevTech! I highly recommend this company :)
Arrived in Norway in 1 week. Easy to install and the machine works again. Thank you for having this offer!
Great repair kit. Did the job right. Love those sleeve connectors solder free. Thanks to the youtube video I was able to put the machine back in action.
wand repair kit worked a treat for me. Back up and running quickly, easy to install
Product as discribed. Worked well.
The seller provided everything I'd need (which were the same as the video on their YouTube channel). The cable was cut in an arrow shape, heatshrink wires were provided, as well as heatshrink rubber, orings, etc. Installation was slightly tricky, but achievable thanks to their YouTube channel. Would love more products on this website.
Thanks Sam! Yes it's certainly a fiddly repair this one, but glad it worked out.
Excellent service. Fast shipping
Thanks